
You can import a GeoTIFF image file into Google Earth Pro. Follow this guide to be able to import a GeoTIFF into Google Earth Pro yourself.
How To Import GeoTIFF Into Google Earth Pro
Total Time: 3 minutes
-
Download And Open Google Earth Pro
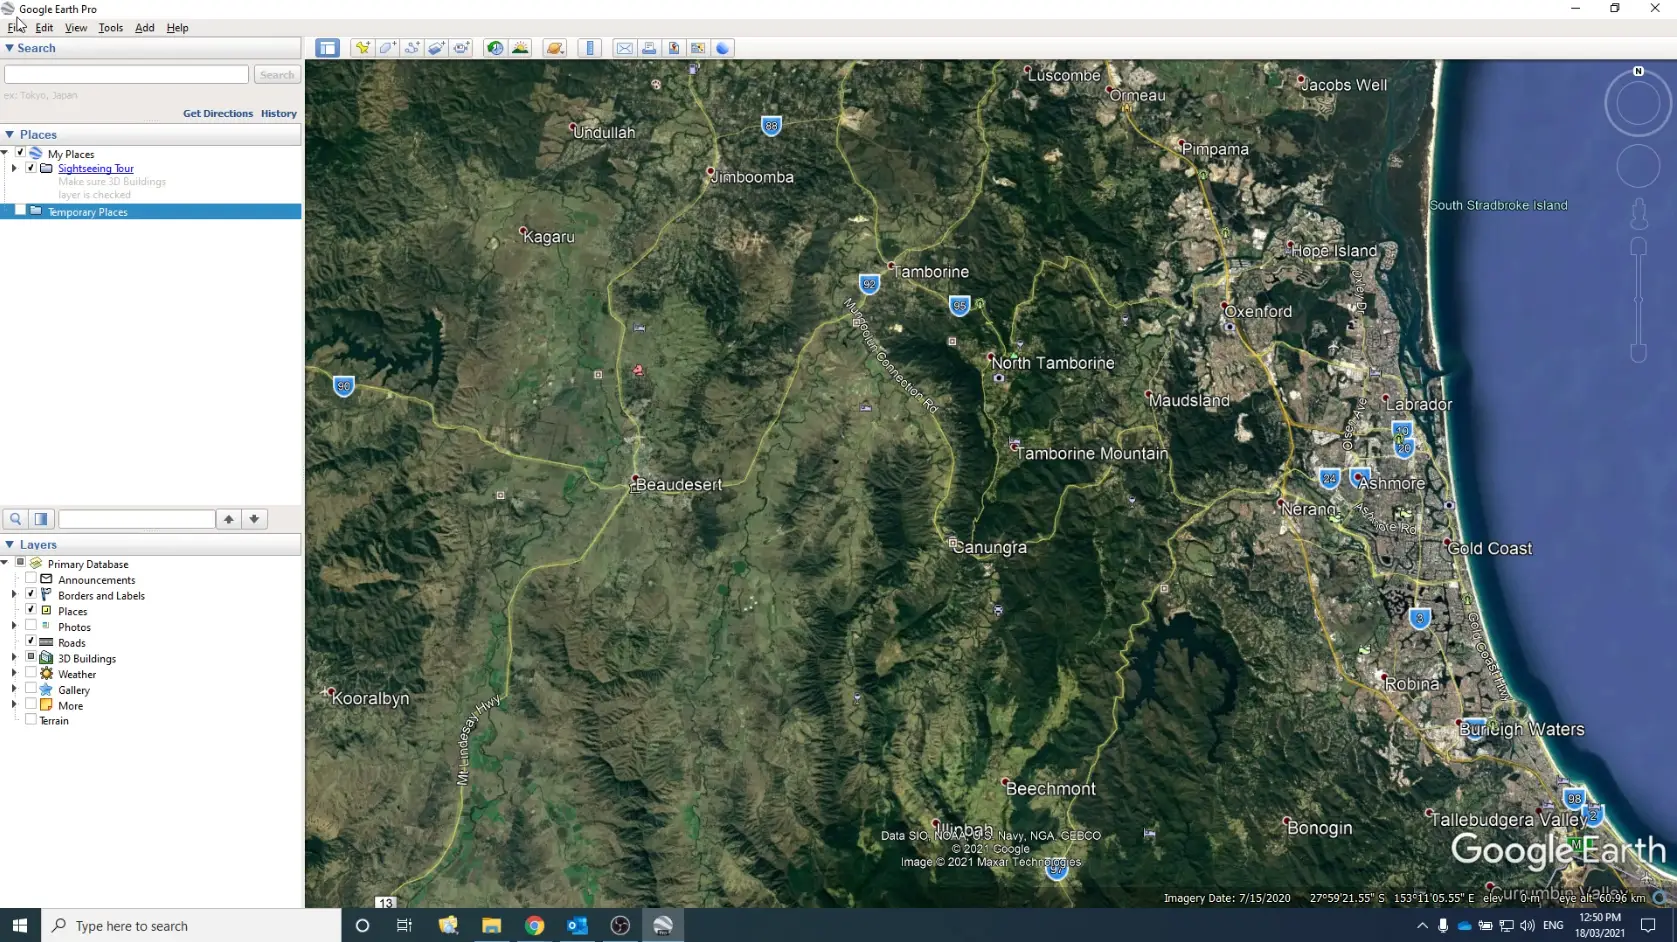
Google Earth Pro is a free downloadable desktop program available on PC, Mac and Linux. you can download it from here.
Once downloaded and installed open up Google Earth Pro.
-
Open Import
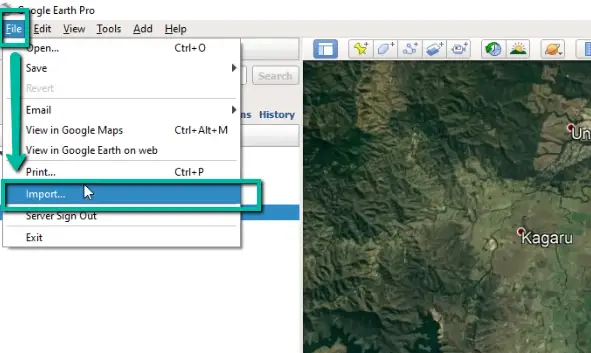
To open the dialogue box to select which GeoTIFF you want to import go to File >> Import.
-
Navigate To Where GeoTIFF Is Stored
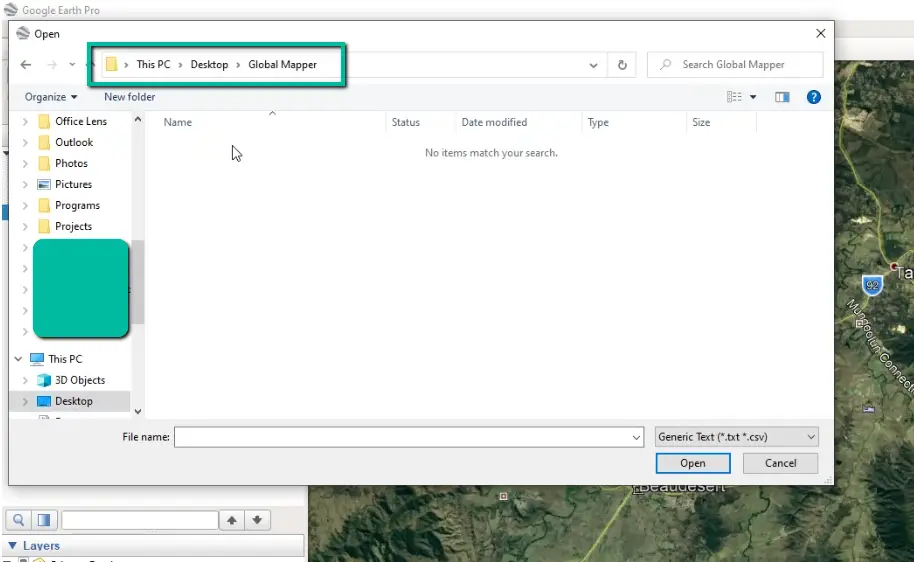
Navigate to where you have the GeoTIFF stored.
-
Select Correct File Type
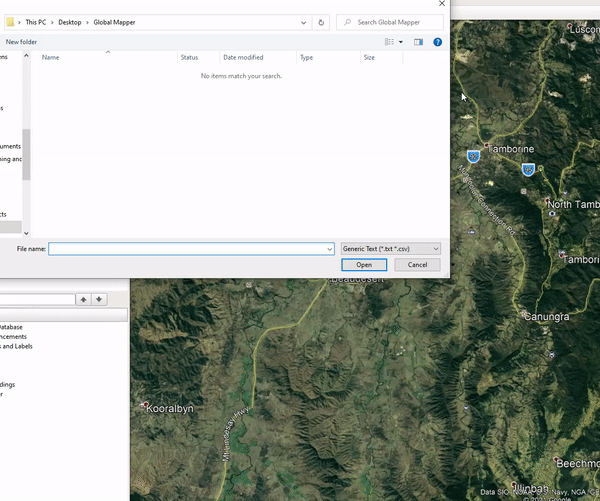
Next to the File Name dialogue box select the file type dropdown list and select All Files.
I needed to do this as my GeoTIFF files extension is *.tiff (with 2 t’s), meanwhile, the GeoTIFF extension in Google Earth is looking for *.tif (with only one t).
-
Create A Super Overlay…
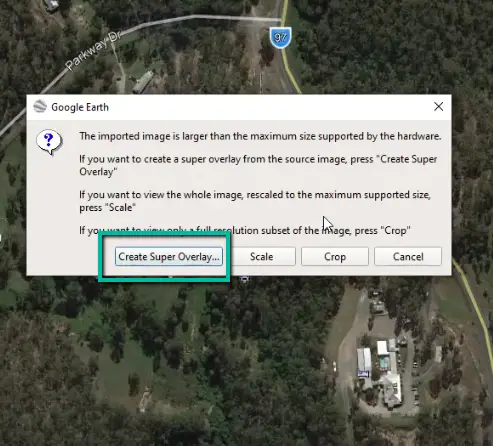
If the GeoTIFF file is large, Google Earth Pro will prompt you with 4 options on how to handle a large image.
1. Create Super Overlay: This will split up the file into multiple *.kmz files.
2. Scale: This reduces the image size to the maximum supported size.
3. Crop: If you want to reduce the actual size of the image and view only a subset of the image.
4. Cancel: Nothing will happen and you won’t get to see your image in Google Earth Pro. -
Choose Where To Store KMZs (Super Overlay Option)
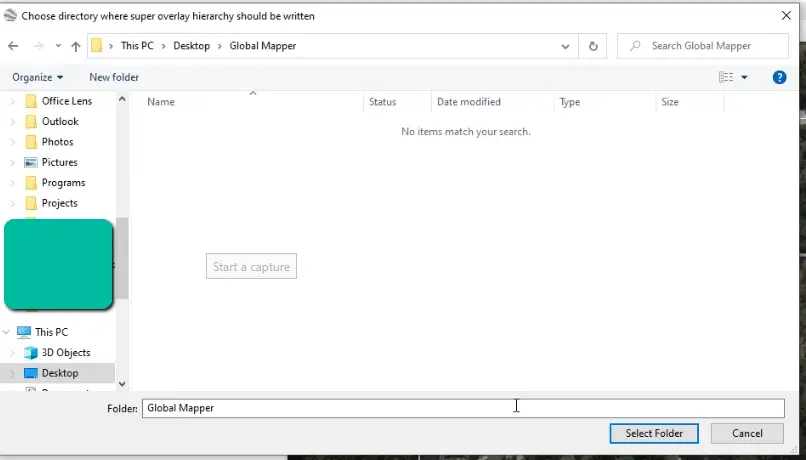
In this example, I selected the Super Overlay option to handle the large image. If you did the same you will need to select where to store the multiple KMZ files.
-
Process GeoTIFF
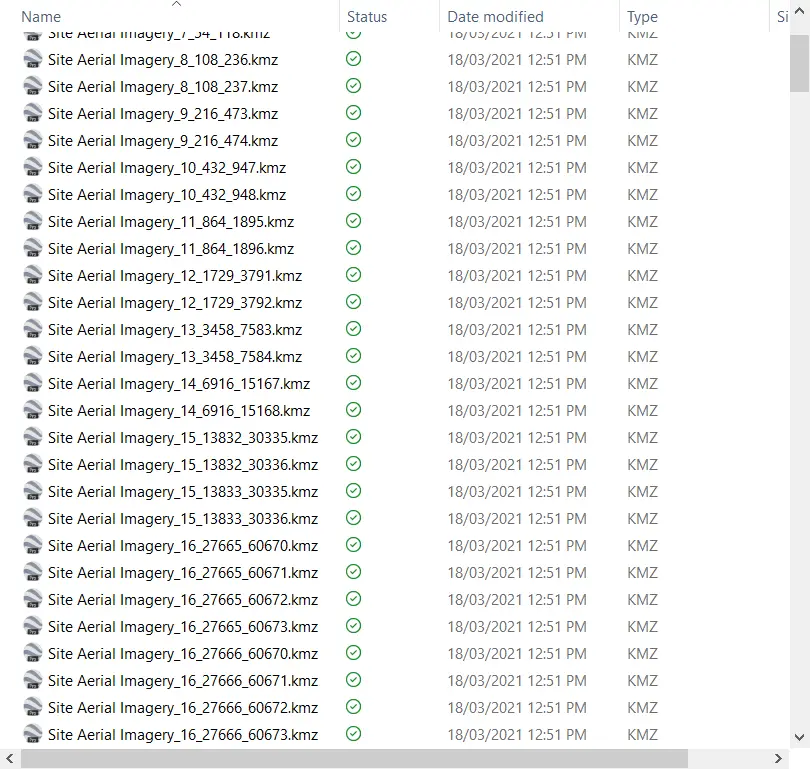
Google Earth Pro will now process the GeoTIFF image and create multiple KMZ files to be able to handle a large file.
-
Image Is Inserted
The image has now been successfully processed and you can view it in Google Earth Pro.
-
Check Image Location
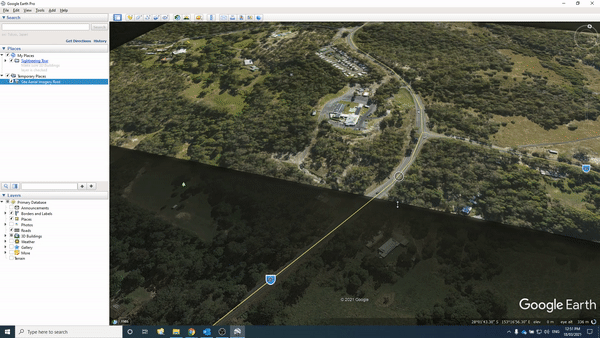
Once the image has been imported you should check that it is in the correct location. You can do this by comparing a feature at the edge of the imagery that is in both Google Earth and your image.
In this example I was able to check a road in the image and compare it to where it was in Google Earth.
-
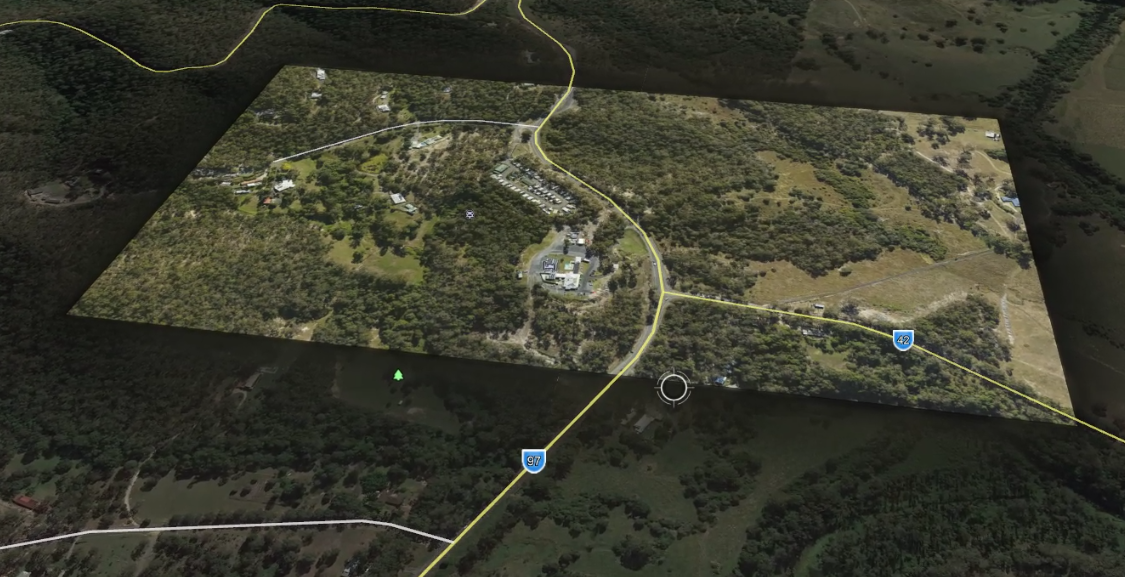
Drape GeoTIFF On Google Earth Terrain
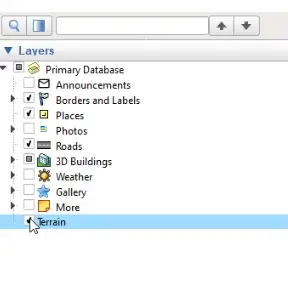
You can view your image draped on the natural terrain. Tick the Terrain tick box.
-
View GeoTIFF Draped On Terrain
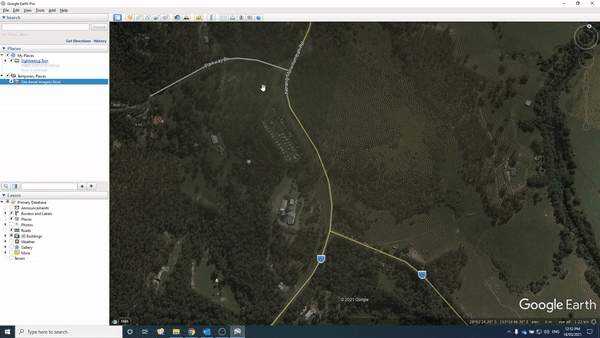
You can now orbit and pan around the image draped on the Google Earth terrain.
-
Save New Image In Google Earth Pro
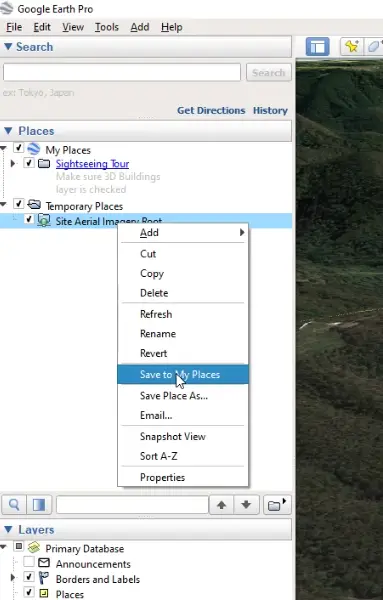
If you want to be able to quickly access and view the imagery that you imported into Google Earth Pro, right click on the image and select Save To My Places. That way it will always appear in the My Places section when you open Google Earth Pro.
I hope you have found this guide to be useful in helping you insert a GeoTIFF into Google Earth Pro.

Comments are closed.