If you are wanting to draw a line or create points or other drawing objects at a specific single elevation, this guide will explain how to do that.
The reasons you might want to be able to draw lines at a specified elevation are:
- Drawing flat design features that have a nominated design elevation, or
- Copying and pasting objects from one location to another and you don’t want to change the elevation of it.
Those are just two of many reasons why you would want to be able to draw flat lines.
Related posts with the OSNAPZ variable include:
- How to Draw a Flat Line (on the Same Elevation) in AutoCAD
- How to Measure 2D Distance Between Two Points In AutoCAD
- How to Do a 2d Move in AutoCAD

How to Draw a Flat Line in AutoCAD
Total Time: 1 minute
-
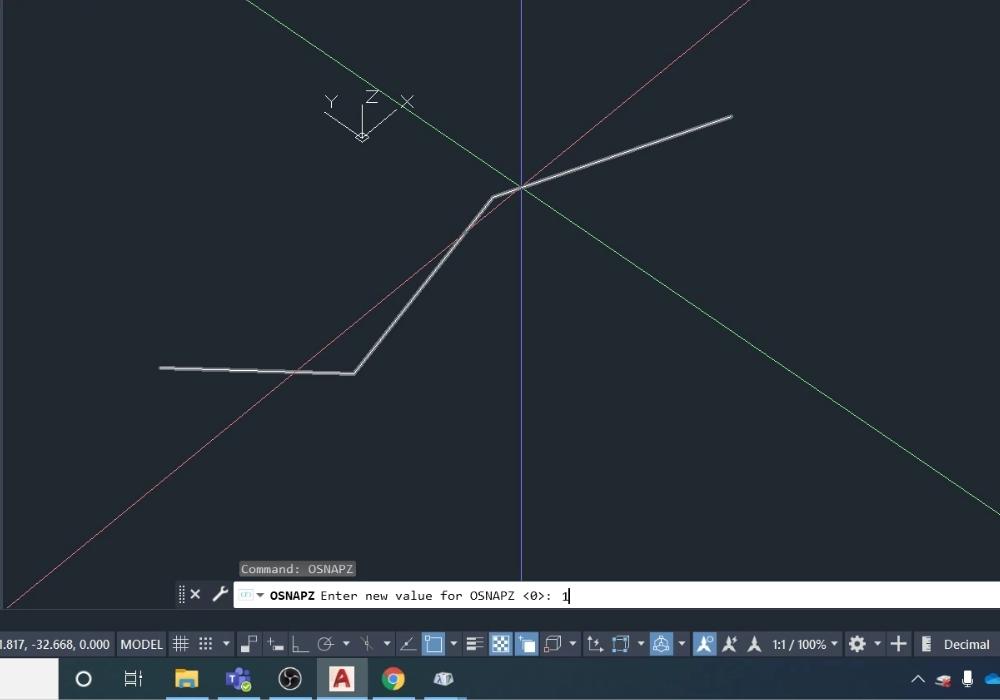
Change the OSNAPZ system variable

Type in OSNAPZ and change this system variable to 1. This changes it so that instead of snapping to the elevation of an object, it will instead create objects at the default elevation.
If you want to change it back so you can select 3d points then change the OSNAPZ variable to 0.
-
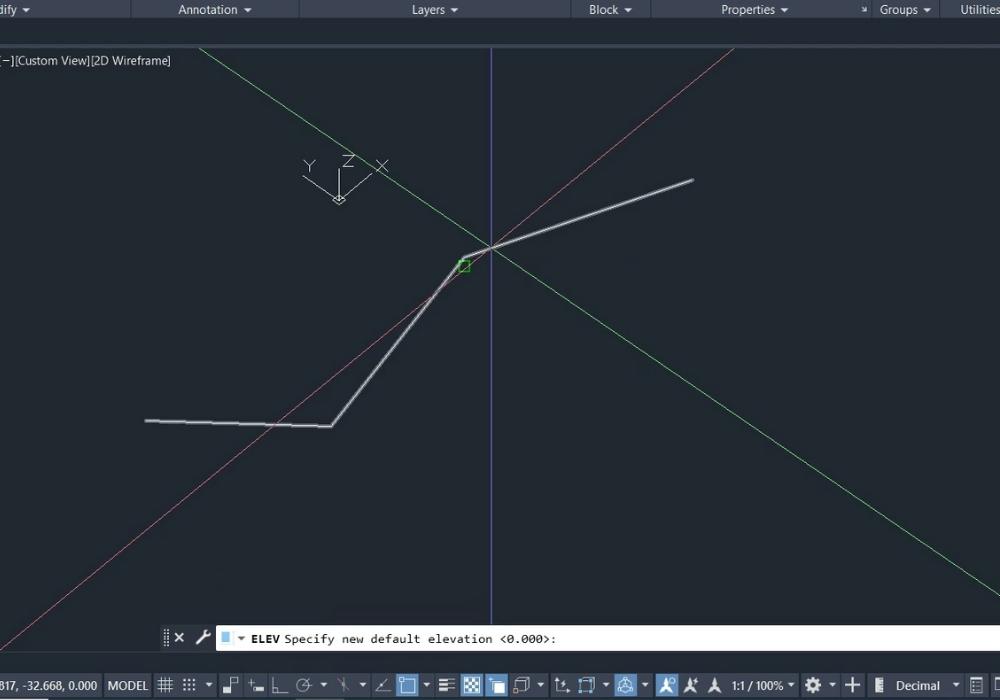
Change the default elevation

If you want to you can change the elevation that objects will be drawn at by default. By default 0.000 is the default elevation. You can type in ELEV and change the default elevation to anything you want.
-
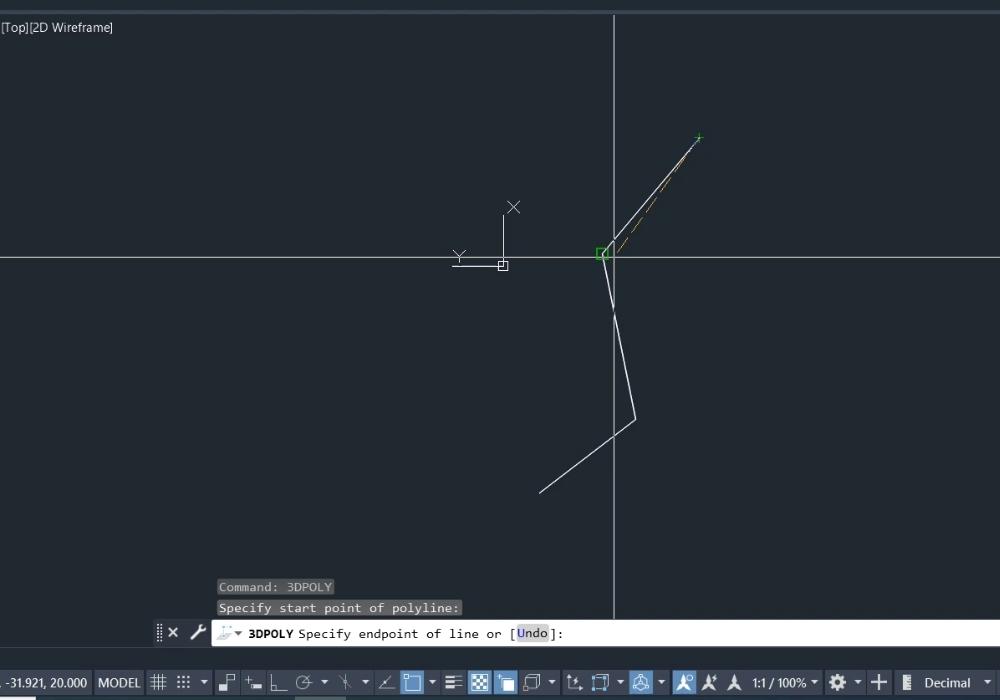
Draw a flat line in AutoCAD

Start either the LINE command or the 3DPOLY command and draw an object/trace an object while snapping to 3d points. If the above two steps were completed correctly then you will be drawing a flat line in AutoCAD.
-
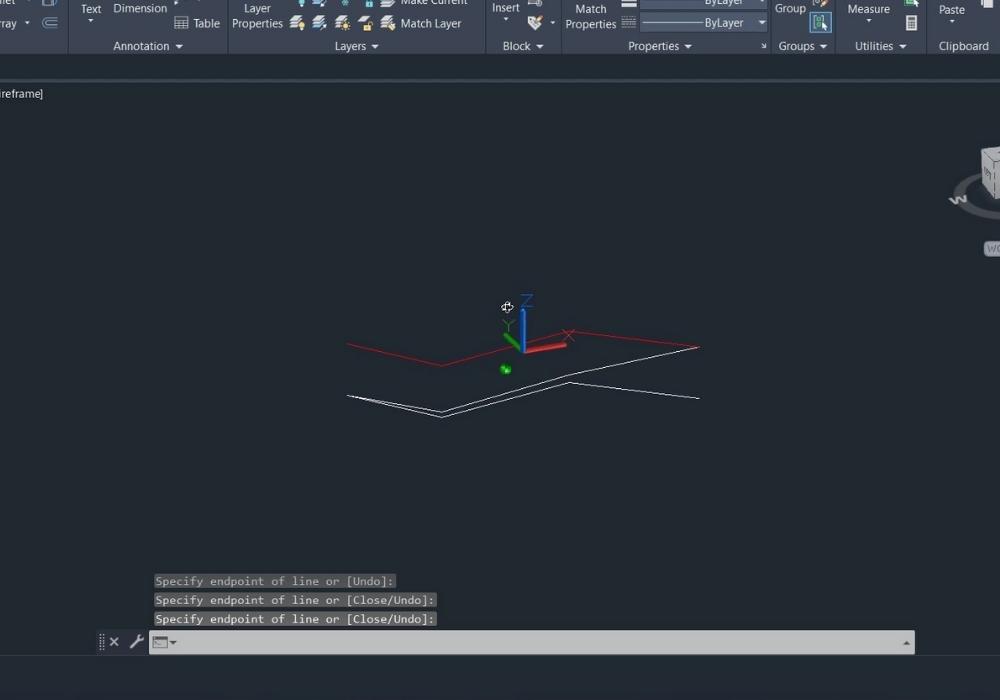
Check the results

To visually verify that you have drawn a flat line at the default elevation move your view around (ORBIT or hold Ctrl + middle mouse button). You can also select the line and check the height of each vertice.
