
If you are wanting to move some points and lines in 2d only, and not change the elevation of the data, simply set the OSNAPZ variable to 1. For a more detailed guide on how to do this please read my step-by-step guide below.
What is the OSNAPZ Variable?
The OSNAPZ variable can either enable or ignore snapping to the Z values of objects that are selected (depending on what is set).
- If the OSNAPZ variable is set to 0, then the OSNAP uses the Z-value of the specified point.
- If the OSNAPZ variable is set to 1, then it will substitute the Z value for the specified point with the default/set elevation (ELEV).
Related posts with the OSNAPZ variable include:
- How to Draw a Flat Line (on the Same Elevation) in AutoCAD
- How to Measure 2D Distance Between Two Points In AutoCAD
- How to Do a 2d Move in AutoCAD
How to move points and lines 2d in AutoCAD
-
Change OSNAPZ variable to 1
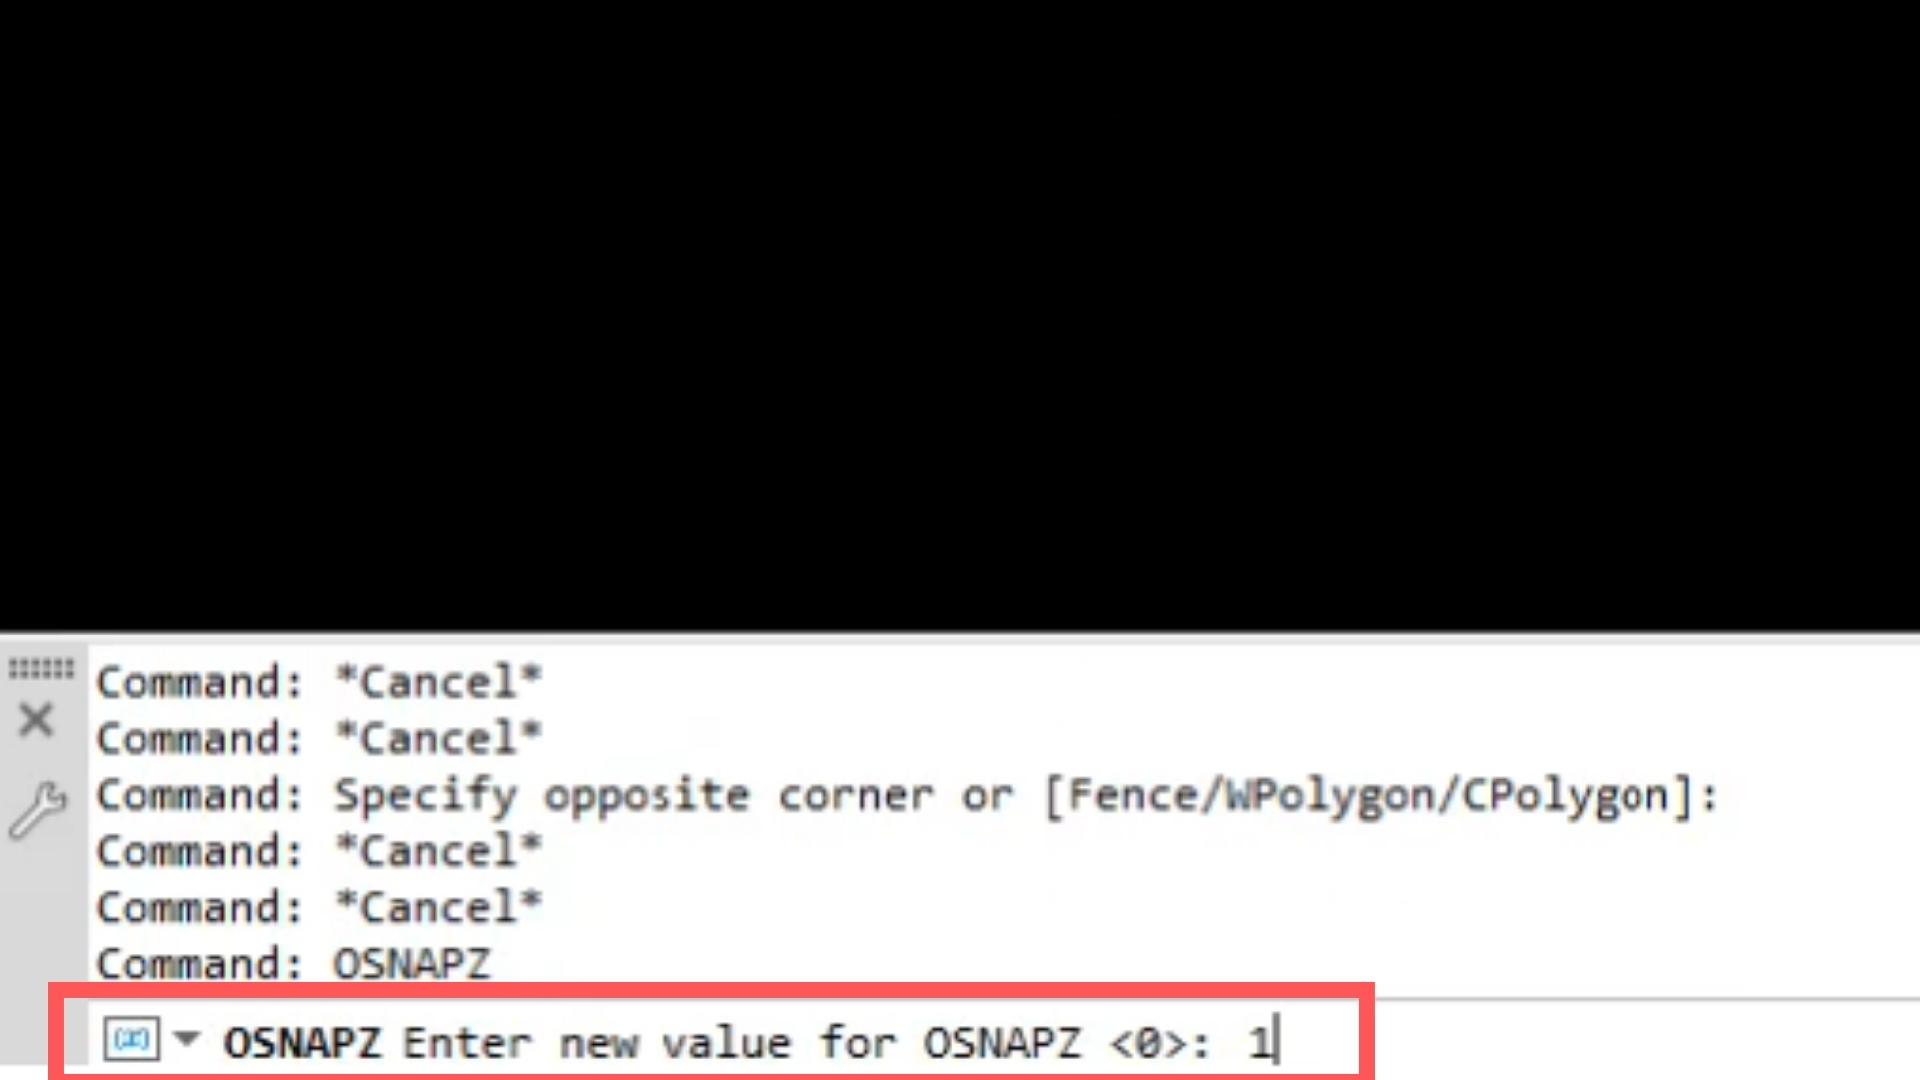
By default, the OSNAPZ variable is set to 0. This means that when you move objects, they will be moved horizontally and vertically (depending on what you select as the base point).
To only move points horizontally (2d), you need to set the OSNAPZ variable to 1. This will mean that any action you take or the object you create will be done at the default elevation, and the Z-value of the object you are selecting will be ignored.
If needed the default elevation can be modified by entering ELEV into the command bar. Doing this is only necessary if you are creating a lot of points and lines and text at a particular elevation.
-
Move the objects
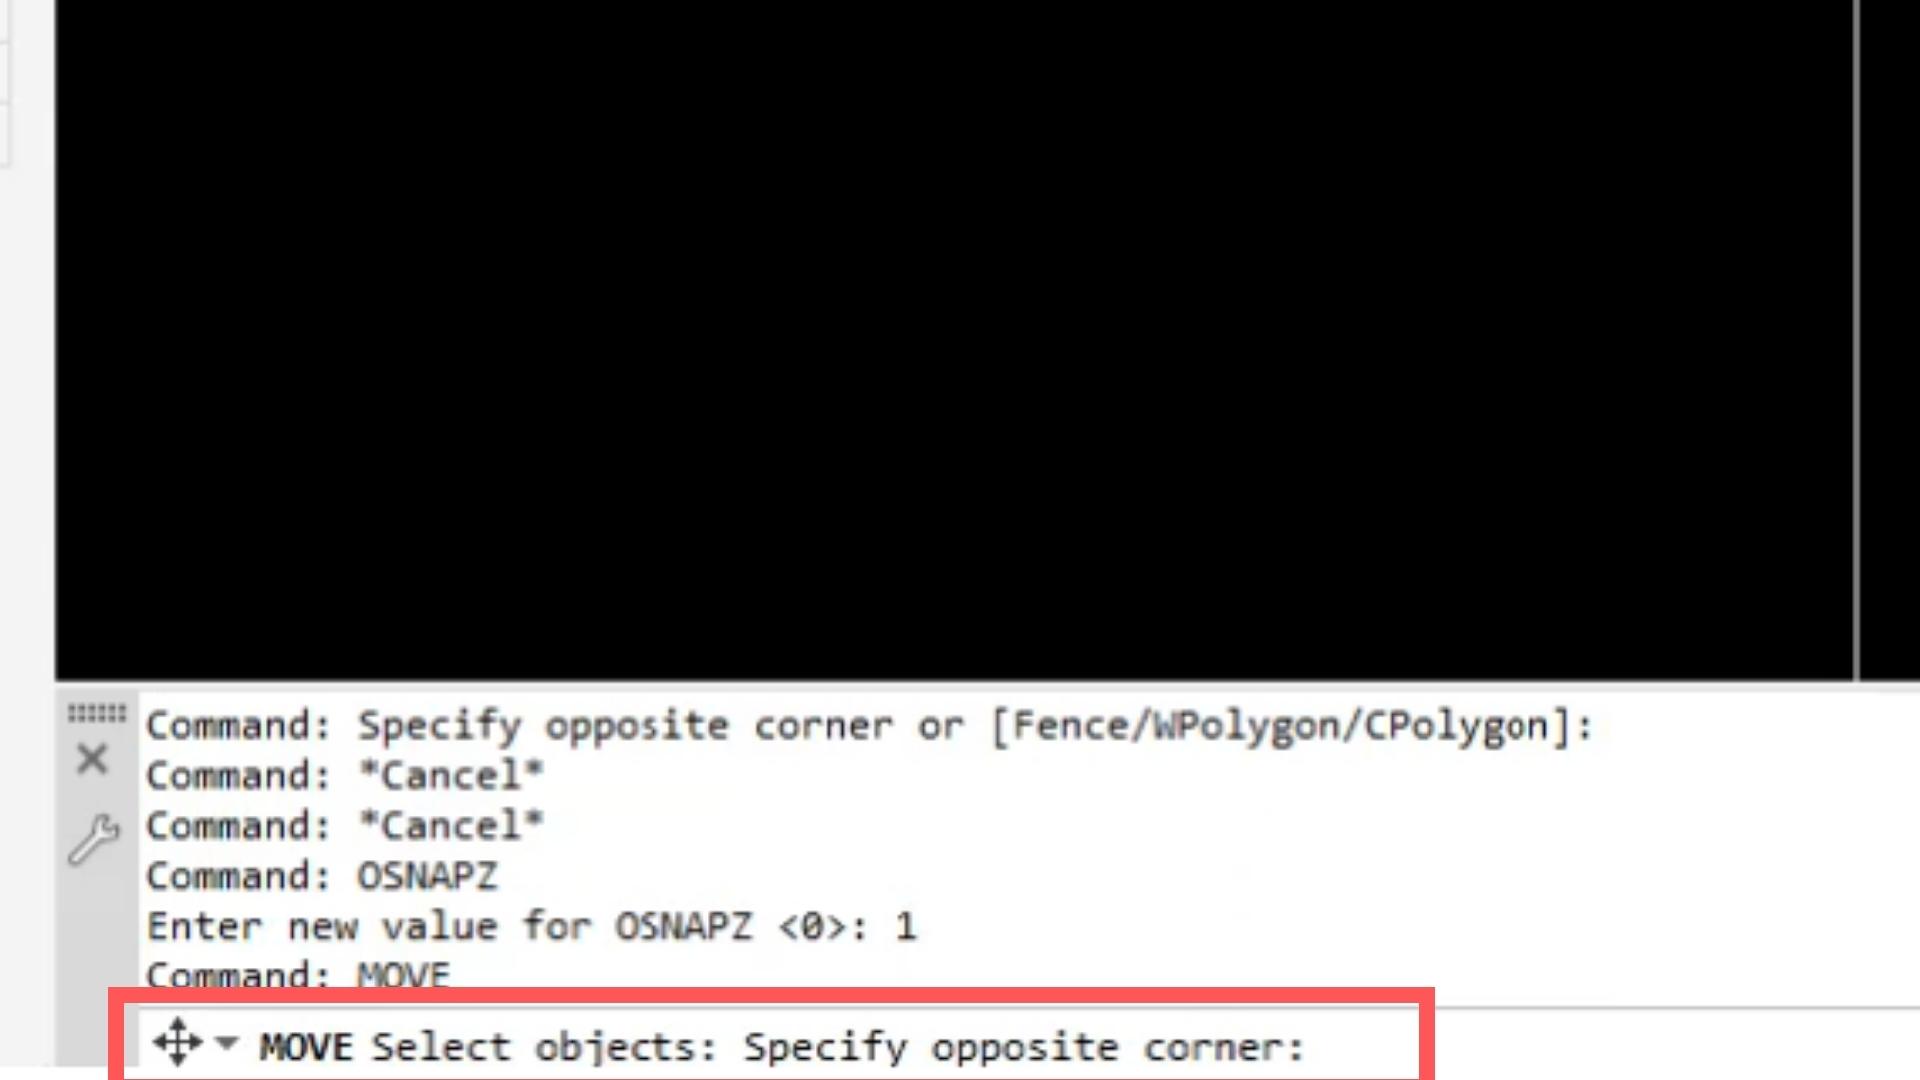
To start the move command, enter MOVE into the command bar and press enter.
Before you do move your points it is best to find out the height of a random point
-
Select objects to MOVE

Select the objects that you wish to move by dragging either a green or blue box over the drawing objects.
-
Select the MOVE basepoint
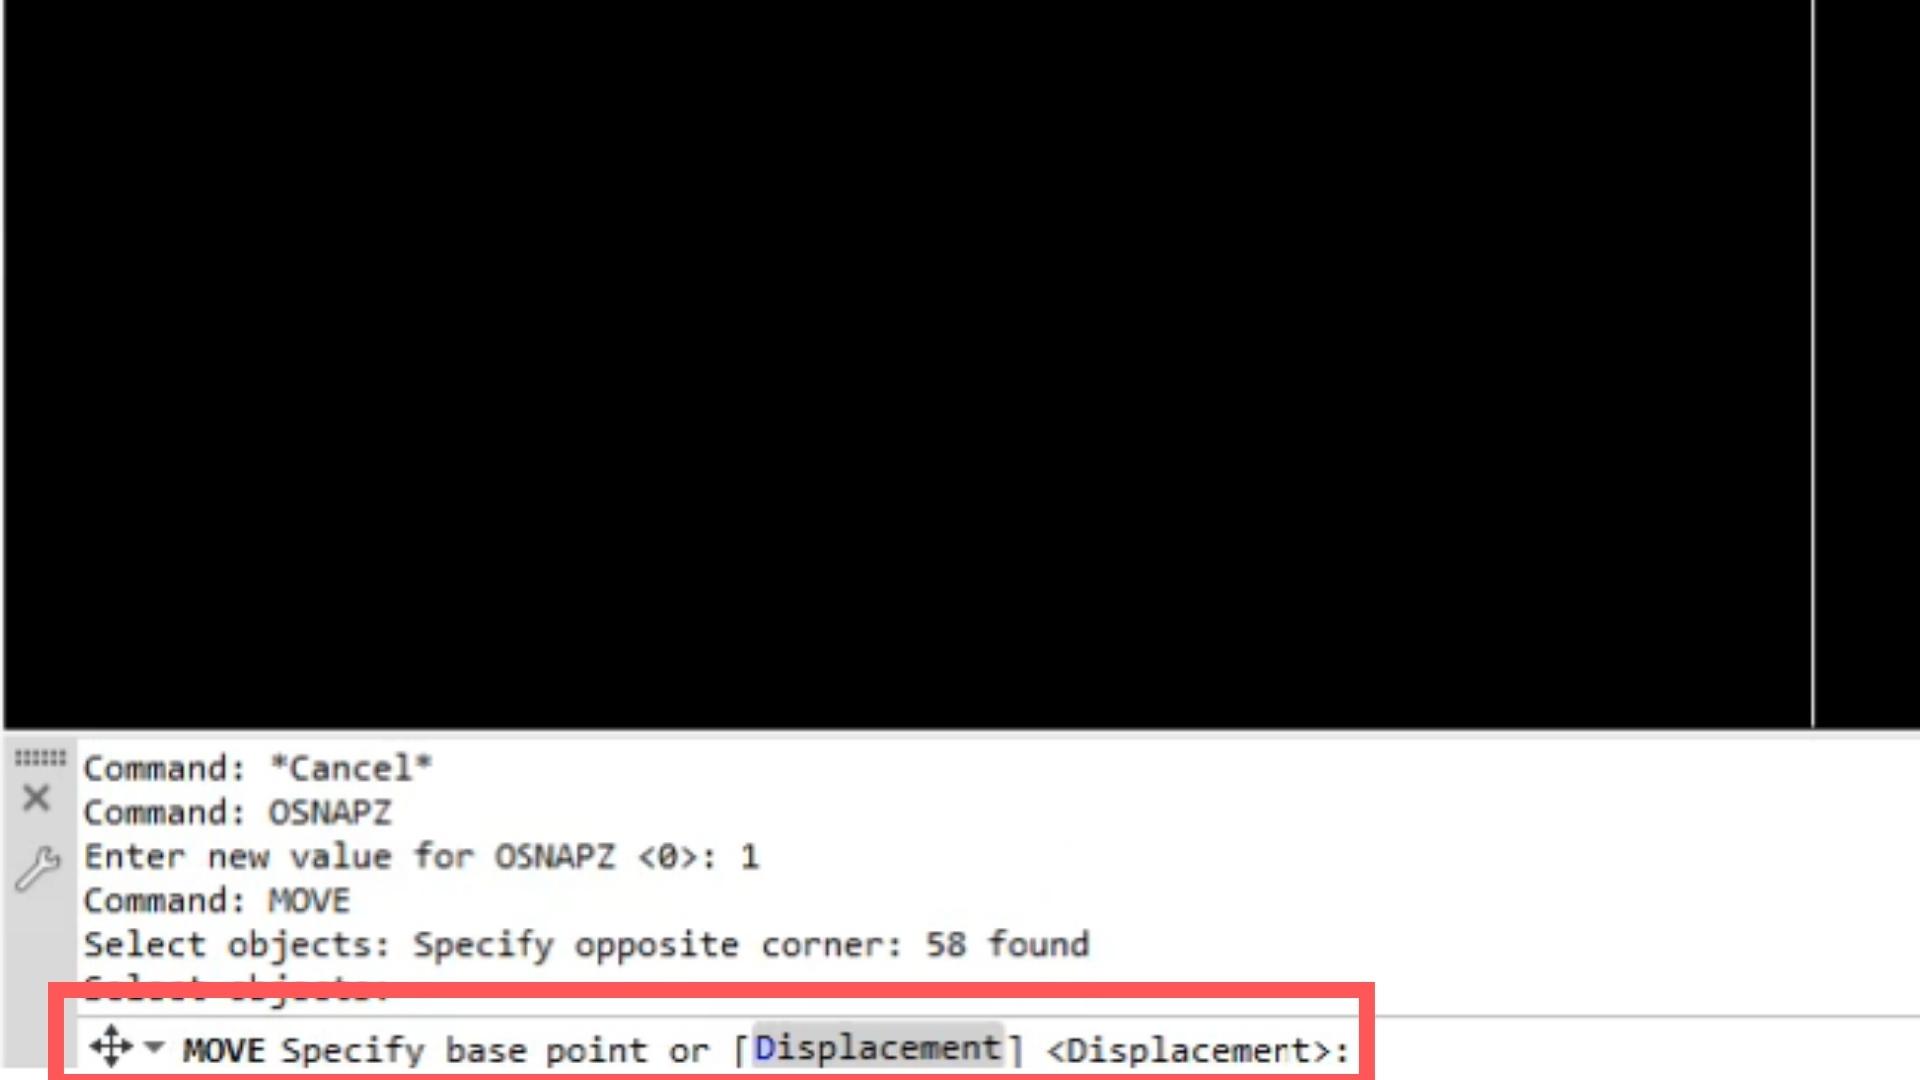
Once all of your objects are selected, specify the basepoint.
If there are common points between the data sets, it will make it easier if you select the common point as the basepoint.
-
Select the destination point
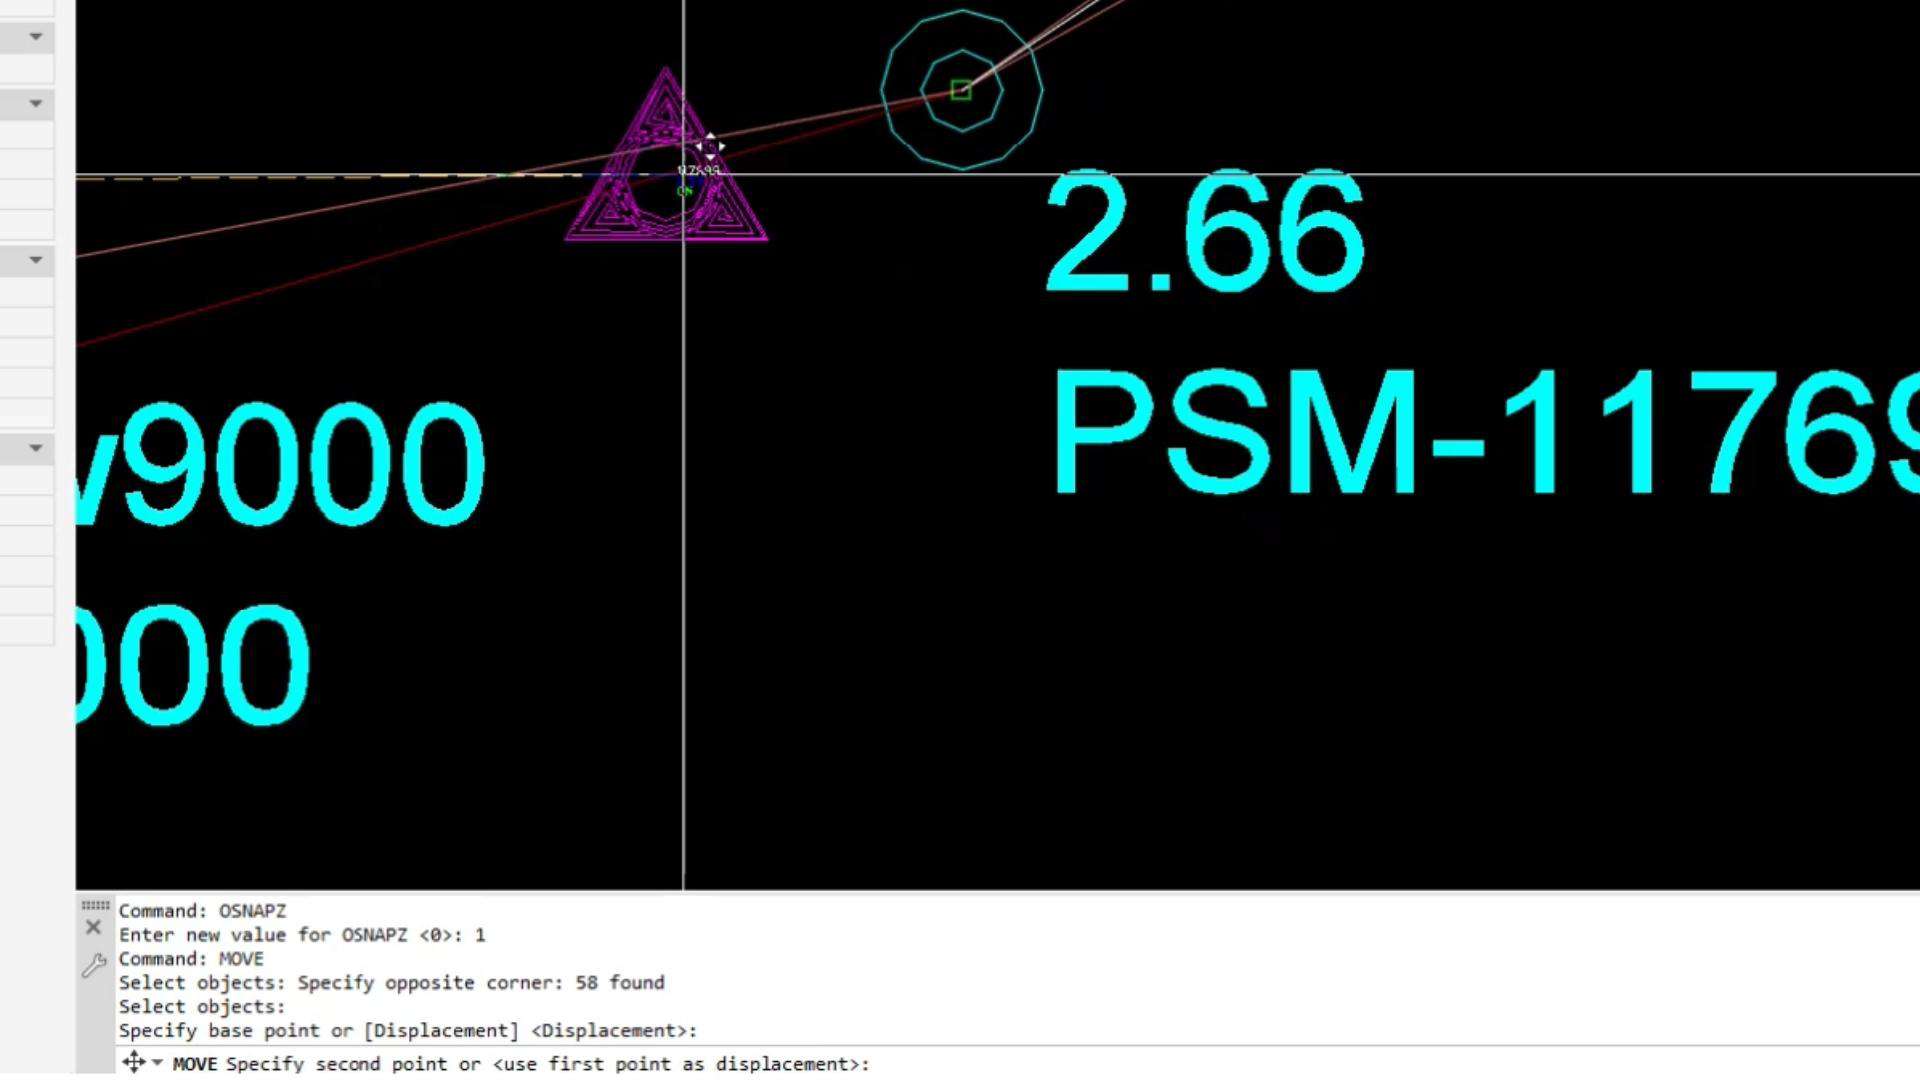
After you have selected the base point, you will then need to select the destination point. This can be the common point if relevant.
Once you have done the move make sure you check the height of a point or line that you notes previously.
