To be able to use and work with a GNSS/GPS receiver on a site with a local coordinate system, you will need to complete a site calibration first.
The below steps explain how to do a site calibration using a Leica CS15 running the controller software Leica Viva.
How to do GNSS/GPS site calibrations with a Leica CS15 to work on a plane coordinate system
-
Create a control job
In the controller create a new job that will have just the site control points in it. This will be needed at the end of the job. Set this job as the control job in the controller.
-
Create a working job
Create a new job to store your measured survey points. Select a coordinate system that will store points with latitude and longitude values. I am using the WSG1984 coordinate syetem.
-
Survey the control points
Go around to each of the control points on your site and measure and store the point. If you have the time and want a more accurate site calibration, do a 3-minute observation on each point utilizing a bipod. But if that is not happening, at least do a 30-second observation.
To survey the points go to Work! >> Survey.
Important: When you are during the points, it will make it a lot easier if you name the surveyed points the same as the control points. That way you won’t have to manually match the points later on.
-
Determine coordinate system
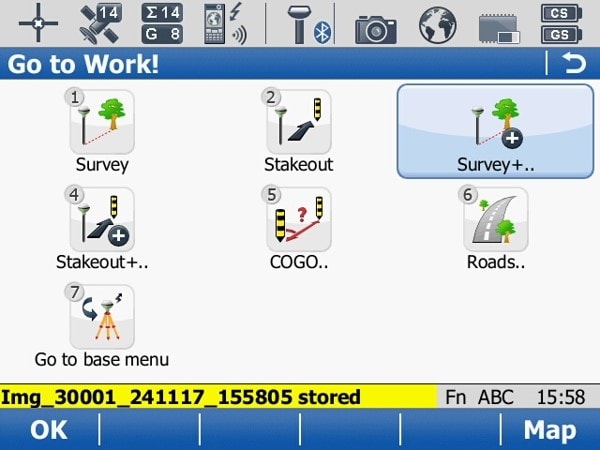
To open the determine coordinate system functions, first go to Work! >> Survey+
-
Determine coordinate system (cont)
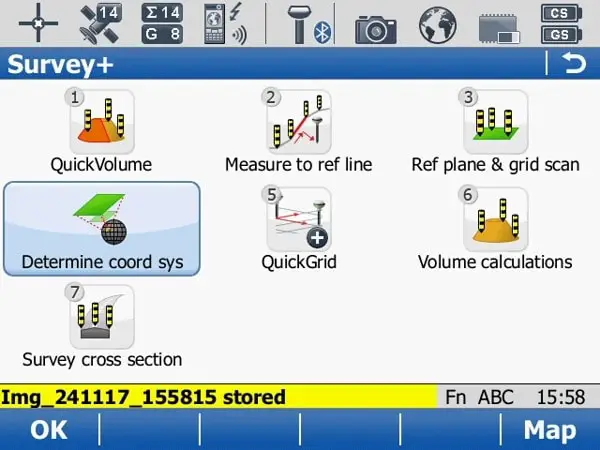
Then select Determine coord system.
-
Select survey and control points jobs
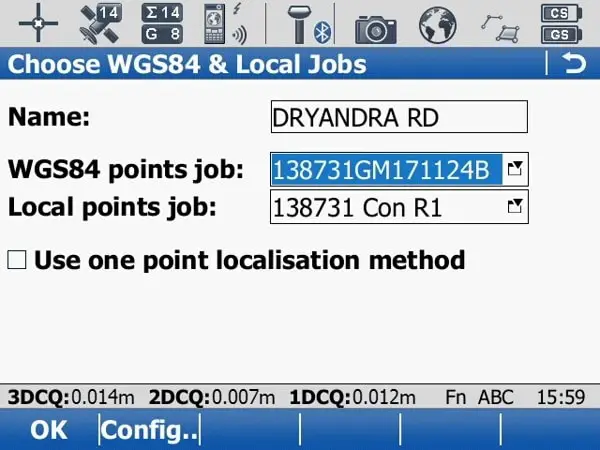
Type in the name for the site calibration.
Next to the WGS84 points job: select the job where your surveyed points are. Next for the Local points job: select where the control points were stored.
-
Set height mode
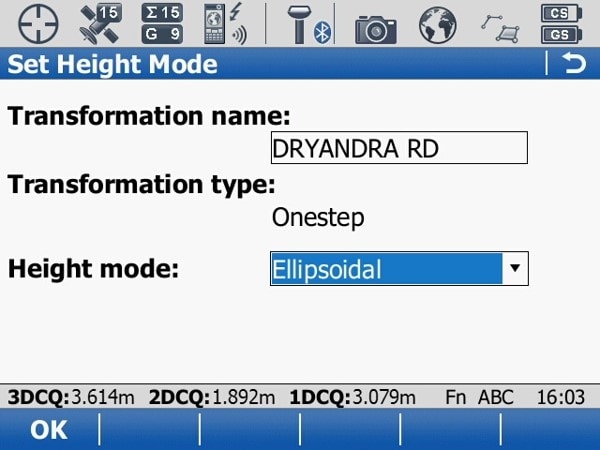
For this example, I am going to select Ellipsoidal for the Height mode.
-
Choose geoid model
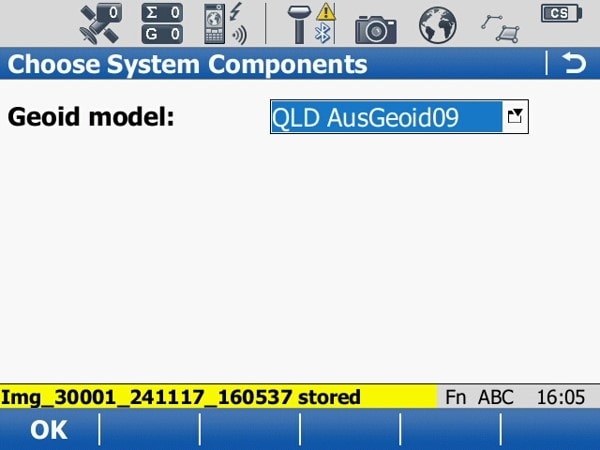
Next, specify which Geoid will be used.
-
Match points
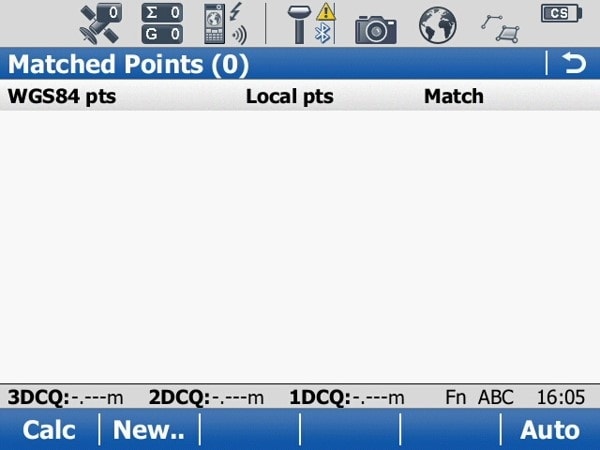
The next part is where you match up your surveyed point to the control points. If you press F6 (Auto) all of the surveyed points with a common name to the control point will be matched up.
If your point IDs don’t match up correctly you will need to press F2 (New) and manually match up each surveyed point to a control point. -
Matched points
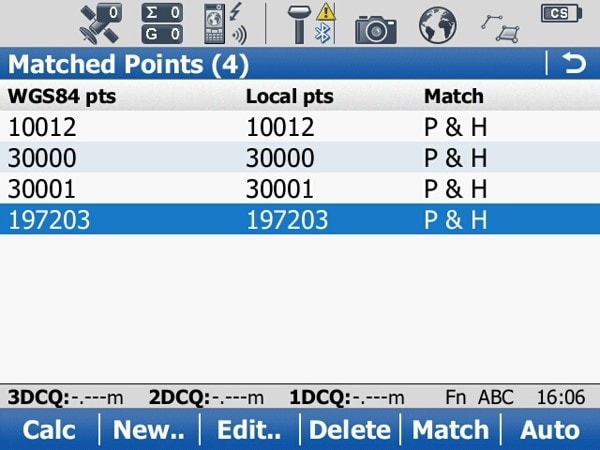
Once the points are matched up you have the option of using a point for 3d, 2d or 1d. Select (F3) Edit to modify these settings.
You will be able to come back to this step if you realise that you need to remove or use only position or height for one of your control points.
Once you are happy with your selections press F1 (Calc).
-
Check horizontal residuals
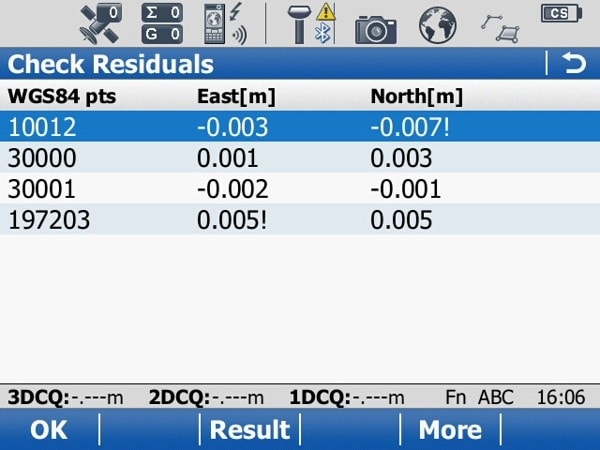
Review the horizontal residuals of the matched points.
If the results are outside of your tolerance, you will either need to remove the bad point or re-survey it.
Once you are happy with the results, press OK.
-
Check vertical residuals
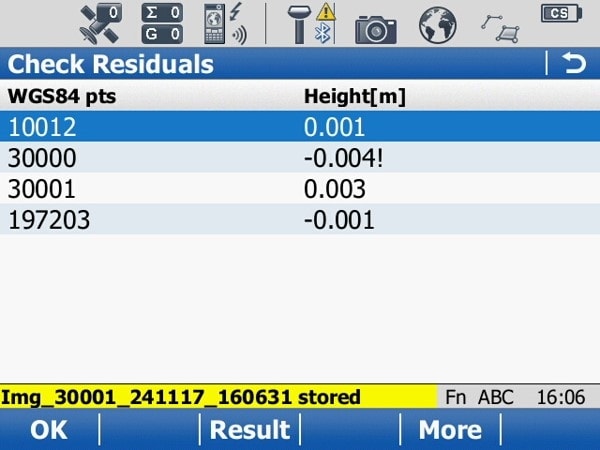
Review the vertical residuals of the matched points.
If the results are outside of your tolerance, you will either need to remove the bad point or re-survey it.
Once you are happy with the results, press OK.
-
Review transformation results
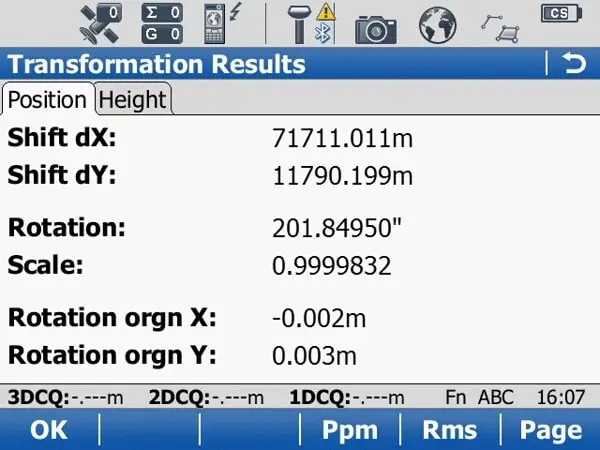
Review the scale of the calibration. In this case, the site should have a scale factor of 1.000.
Then press F6 (Page) and review the X & Y slope of the calibration.
-
Transformation results (cont)
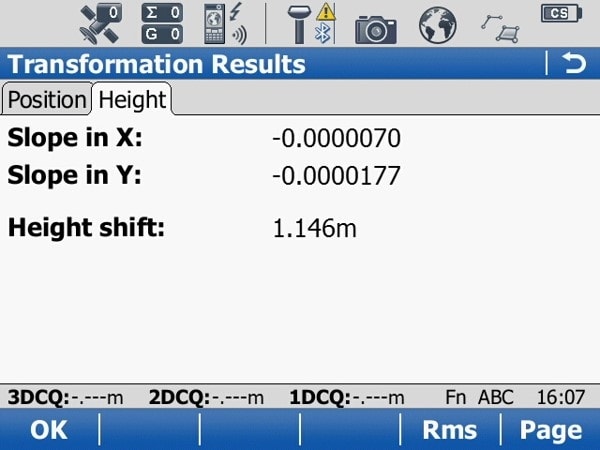
Check the slope in X and Y results. If you are satisfied with these results, press OK.
-
Check residuals
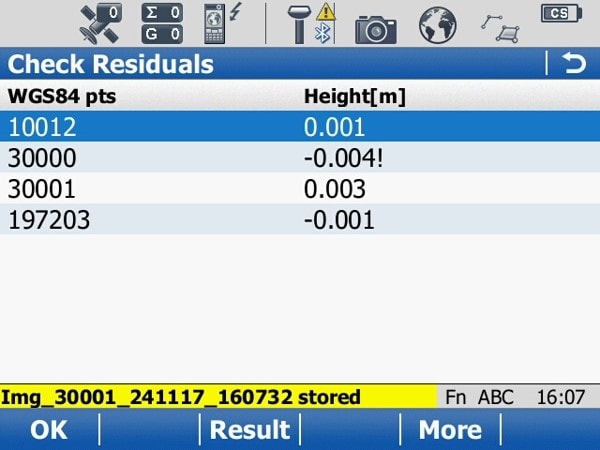
You will be taken back to the check residuals page again, just press OK again. The site calibration is now complete.
-
Store coordinate system
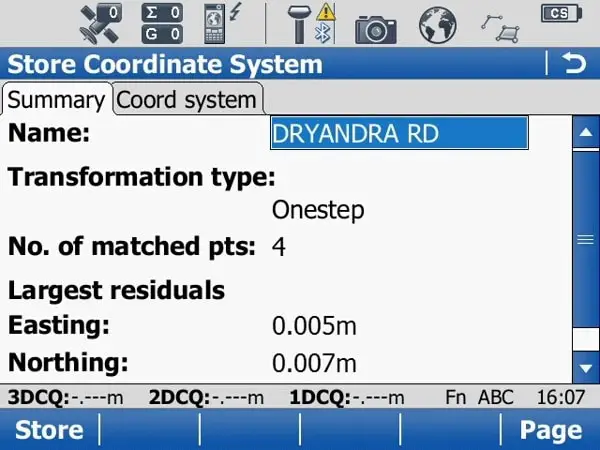
You have one more chance to review and change the name of the site calibration. If you are fine with it press Store (F1).
-
Store coordinate system (cont)
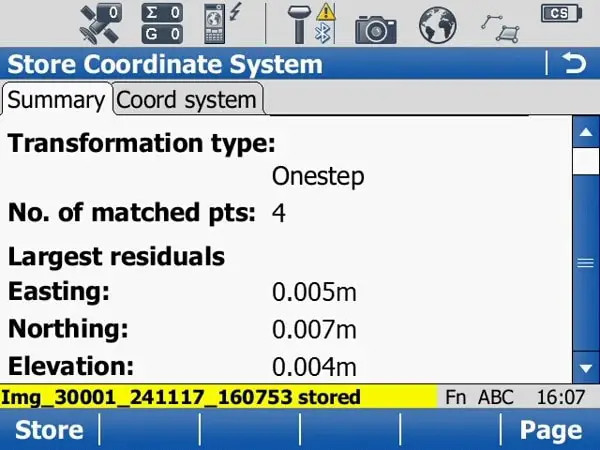
You can also review the largest residuals for the calibration to double-check that you have met your accuracy requirements.
-
Store coordinate system (cont)
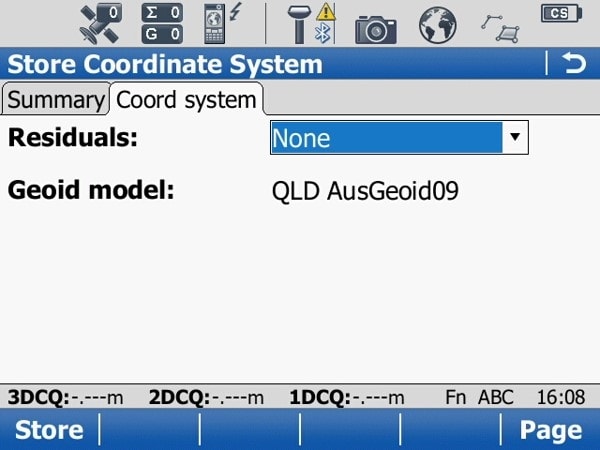
Press store for a final time and your site calibration is now stored.
When creating new job you will be able to specify the site calibration as a coordinate system. This means that you will be able to work on the local coordinate system with your GPS/GNSS received.
