The five ways to draw an arrow in AutoCAD are:
- Type in LEADER into the command bar and follow the prompts (this will create a line with an arrowhead at the end).
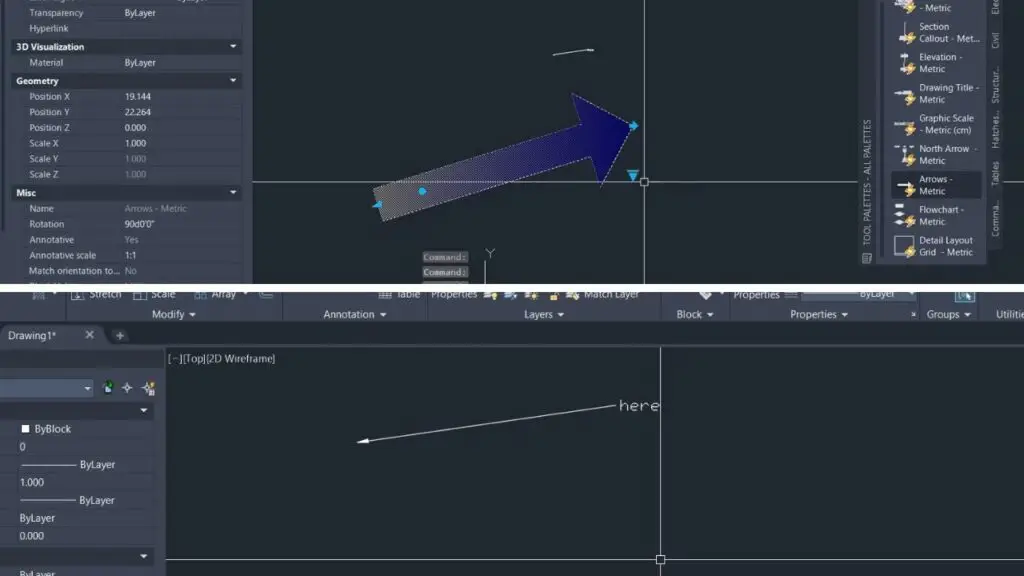
- Insert an arrow from the TOOL PALETTE.
- Draw an arrowhead from scratch using a POLYLINE (works for both Windows and mac AutoCAD users).
- [For mac users] Type QLEADER or MLEADER into the command bar and select the start of the line.
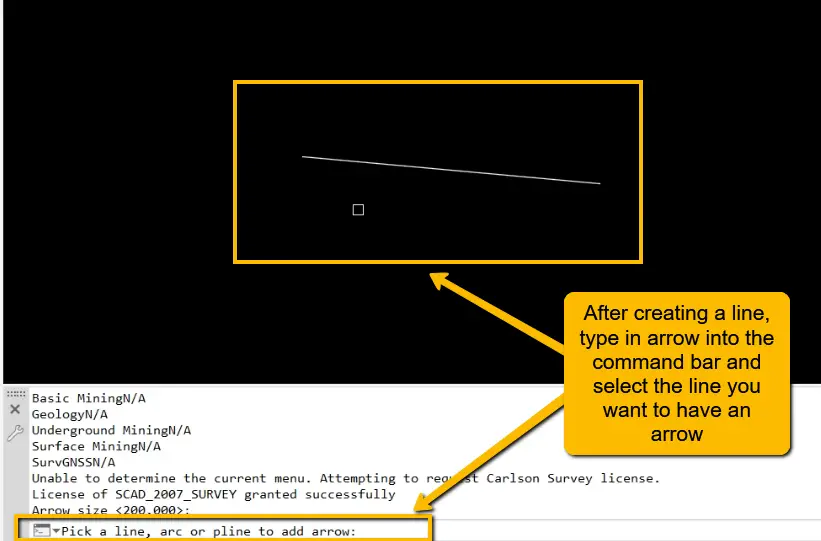
- [For Carlson plugin users only] Draw a line, then type in the command ARROW into the command line and select which side of the line you want the arrow on.
Each of these methods will be further explained below, or you can watch my video on YouTube.
Leader Command Method
- Type LEADER into the command bar to start the command.
- Select where you want the point of the arrow to be by left-clicking the mouse.
- Click a second time where you want the text for the leader to be.
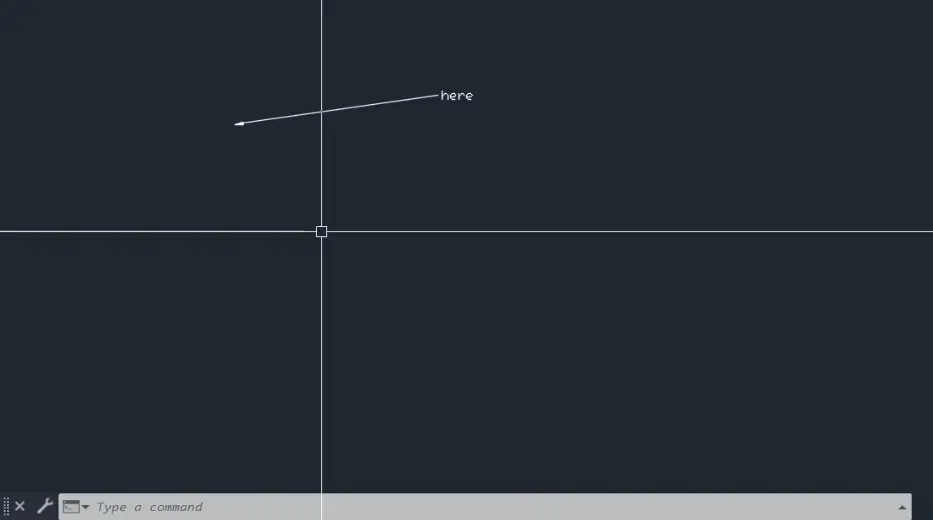
- You will then need to type what text you want and press enter to accept. If you don’t want or need the text just press enter again without typing anything and you will be left with a line and arrowhead.
Below is an image of the result of the leader command.
Tool Palette Method
- Open the tool palette by typing TOOLPALETTE into the command bar.
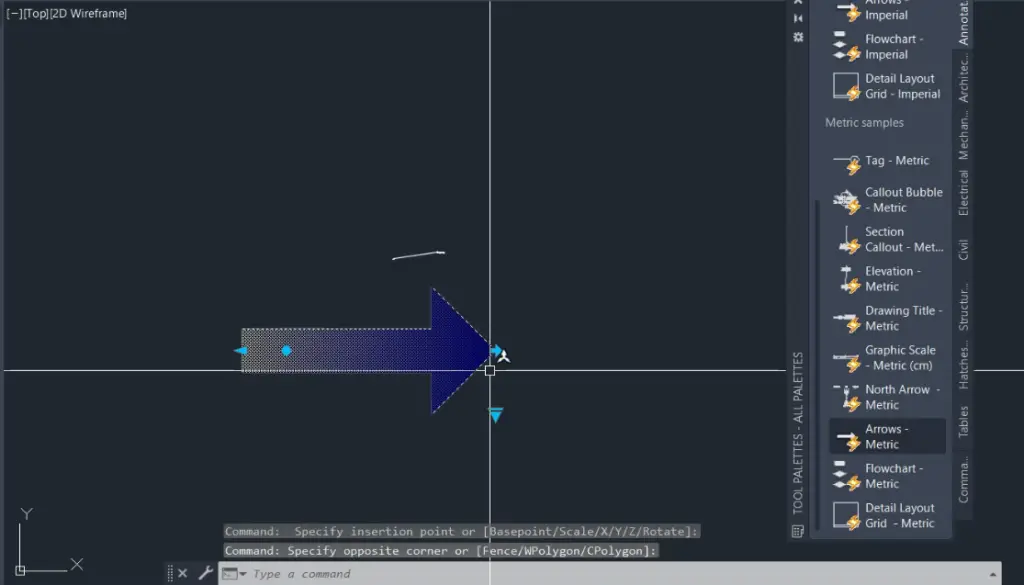
- Select the ANNOTATION TAB, and scroll down the list to find Arrows – Metric or Arrows – Imperial (these are annotative objects so they will change with the scale of the drawing).
- Select the arrow you want (imperial or metric) then left-click into the model space where you want the point of the arrow to be.
- Select the arrow that has been inserted and you can select any of the blue handles to dynamically modify the appearance, style, rotation and position of the arrow.
Polyline Method
- Start the polyline command by typing POLYLINE into the command bar.
- Select the start point by left-clicking the mouse in the model space, then press W to open the width option, then enter in 0 (zero) (start of the arrowhead).
- Select the second point (end of the arrow) by left-clicking the mouse, then press the W command again to change the width to 5 or something that is acceptable (end of the arrowhead).
This method can be used to draw a curved arrow in AutoCAD. [source]
QLEADER/MLEADER Command (AutoCAD for Mac users only)
- Type in QLEADER or MLEADER into the command bar and press enter.
- Follow the prompts by first selecting the start point of the line, and then the endpoint.
Line Method (only available to Carlson plugin users)
- Create a line where you want your arrow to be.
- Type in arrow into the command bar, type in the size of the arrow and select the line that you want the arrow to be on. The arrow will be created at the start of the line.
